Bloom效果
相关概念
显示器能显示的亮度是有限的,反映到RGB值上即0~1这个范围,被称为LDR(低动态范围,low dynamic range)。
然而现实世界则不局限于LDR,现实中的亮度是无限的。为了实现“更亮”的光照,出现了HDR(high dynamic range,高动态范围)这一技术,HDR图像的亮度范围更广,可以真实地显示人眼所见的现实中的画面,解决了LDR下图像明暗对比区分不明显的问题。
HDR的颜色值可以大于1,但由于显示器存在亮度上限,最终HDR输出的颜色还是要映射到LDR限定亮度范围内,也就是色调映射(tonemapping)。
Bloom的出现就是为了达成在LDR标准下显示拟真光照效果的目的。Bloom有点类似Blur,只不过Bloom是基于亮度混合相邻像素而非基于颜色。先混合亮度形成亮度模糊,再叠加该模糊图片到原图上,制造过亮效果。
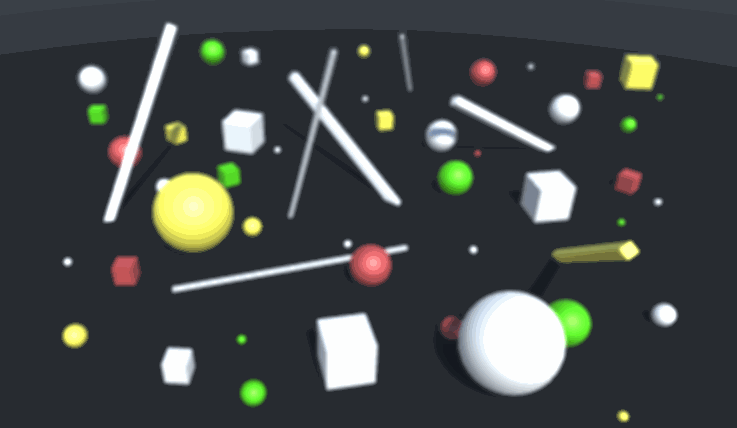
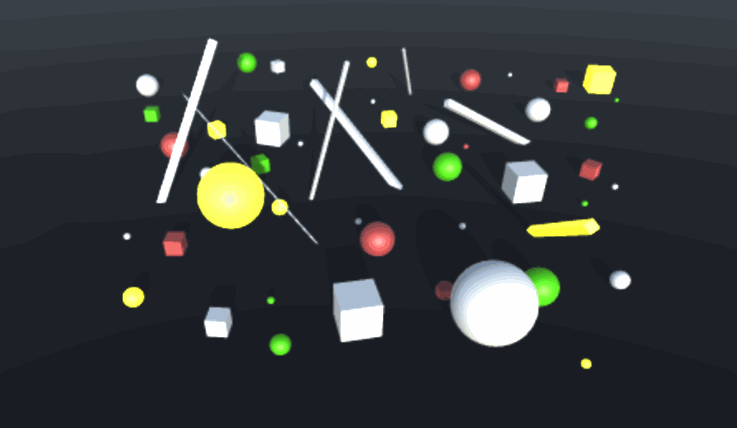
Unity的camera可以设置是否开启HDR…开启HDR(右)会有外发光,比较朦胧,更接近真实发光的物体。
shaderlab实现
模糊
像素越多,采样次数也愈多,给GPU造成更大负担(这个可以看之前的Blur篇,使用高斯模糊就有这个问题)。这次使用一种更快的方法。通过降低临时纹理的分辨率和GPU内置的双线性过滤(bilinear filtering)来达到模糊目的。
Downsampling
首先需要将画面模糊(blur)。可以通过降采样达成。
Downsampling的实现不需要在着色器加东西,直接在cs文件中进行——
void OnRenderImage (RenderTexture source, RenderTexture destination) {

		int width = source.width / 2;
		int height = source.height / 2;
		RenderTextureFormat format = source.format;

		RenderTexture currentDestination = RenderTexture.GetTemporary(width, height, 0, format);

		Graphics.Blit(source, currentDestination);
		RenderTexture currentSource = currentDestination;
		Graphics.Blit(currentSource, destination);
		RenderTexture.ReleaseTemporary(currentSource);

    //downsampling
		for (int i = 1; i < iterations; i++)
		{
			width /= 2;
			height /= 2;
			if (height < 2)
			{
				break;
			}
			currentDestination = RenderTexture.GetTemporary(width, height, 0, format);
			Graphics.Blit(currentSource, currentDestination);
			RenderTexture.ReleaseTemporary(currentSource);
			currentSource = currentDestination;
		}
}
改进后的模糊
上述的模糊效果还是有明显的方块边界,接下来对其进行改进。
通过SampleBox
		half3 Sample (float2 uv) {
			return tex2D(_MainTex, uv).rgb;
		}

		half3 SampleBox (float2 uv, float delta) {
			float4 o = _MainTex_TexelSize.xyzw * float2(-delta, delta).xxyy;
			half3 s =
				Sample(uv + o.xy) + Sample(uv + o.zy) +
				Sample(uv + o.xw) + Sample(uv + o.zw);
			return s * 0.25f;
		}